Taking great photos of your windows
We need photos of your windows to be able to serve you well.
That is why we ask everyone who makes an enquiry, or places an order for a bay window curtain track. To send us at least one photo of the window they are interested in us helping them with.
Show/Hide Transcript
Importance of Accurate Photos for Curtain Orders
Hi, I'm Lee Stevens from Ezecurtains.co.uk and I want to talk to you about photos, photos that you'll send to me through the contact form when you're making an inquiry, or photos that you attach to an order like a bay window curtain track order. Now, we need to see a full shot of the bay. So we need you to stand on the far side of the room so you can get the top of the window in where the track's going to fit, also, the full windows ill around the bay, and out each side of the bay if the curtains are returning outside of the bay.
Tips for Capturing Essential Window Details
Then you may want to take a second shot of the windowsill. If you've got curtains hanging like here, pull 'them to one side, take a shot of the window sill, especially on the end because that's often critical to how the bay track is going to fit. And also how your curtains are going to hang. So below this video you will see some dos and don'ts of the right ways to do your photos.
Conclusion and Additional Resources
So, please have a look, and hopefully this has helped you. And thanks very much for watching.
After most of my life working in this industry you can't just go off a phone call or just a written description. We need to see the window and the walls around the window.
Also, seeing the window sill is big thing for us. Especially the ends of the sill at each side of the bay. The window sills can play a big part in getting your curtains to hang properly. Especially when the curtains tracks are ceiling fixed.
So when we are drawing out your bay shape we can factor this and other things in to make your track work perfectly.
So what makes good photos of your window?
So what kind of photos do we need and how can you help us to help you. So rather than just tell you what to do. If you are anything like me. You just want someone to show you. Even better if they give you examples of what they need. But also examples of what not to do.
Please understand I'm not critising the quality of the photos. I'm not the best photographer 😉
It's more about what I can see in the photos that matters. So let's get started.
The Good Guys
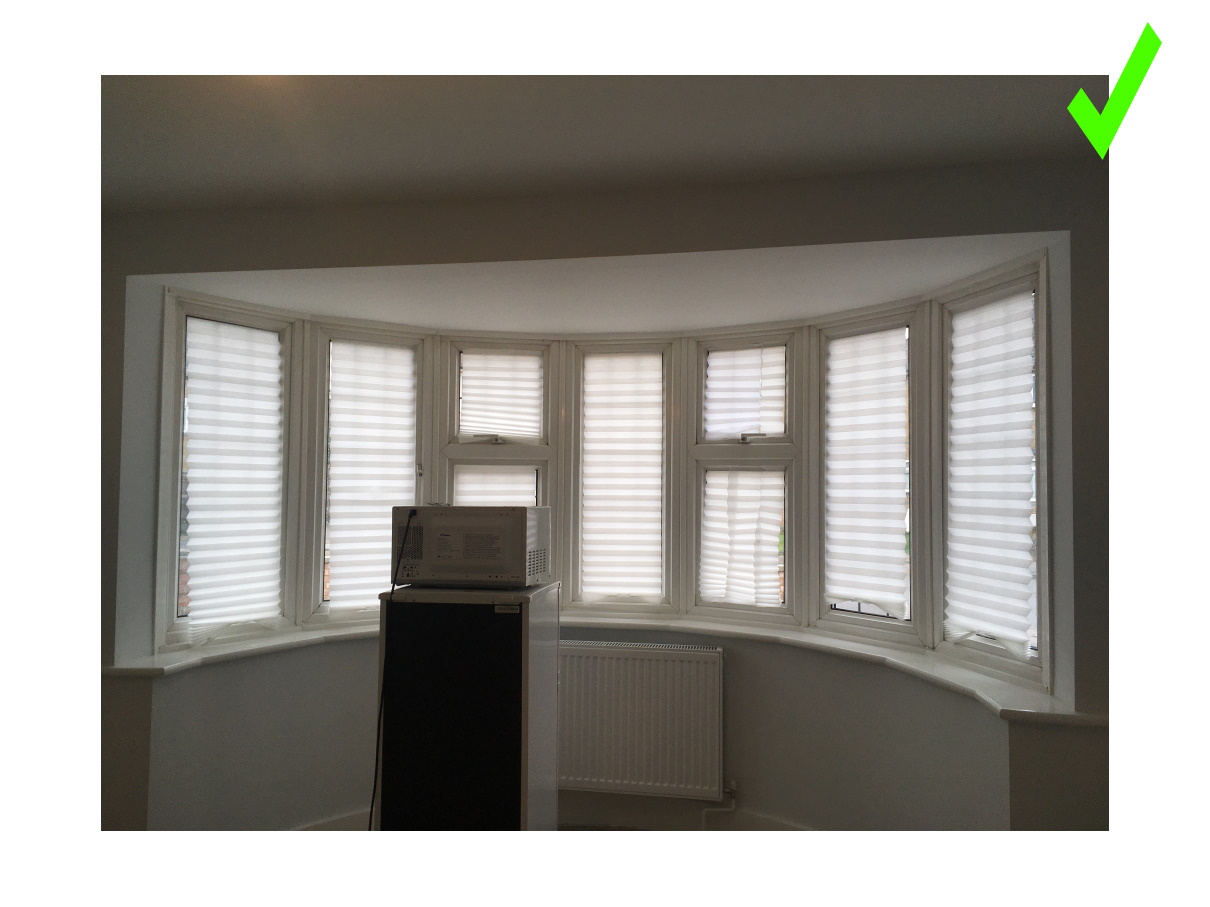
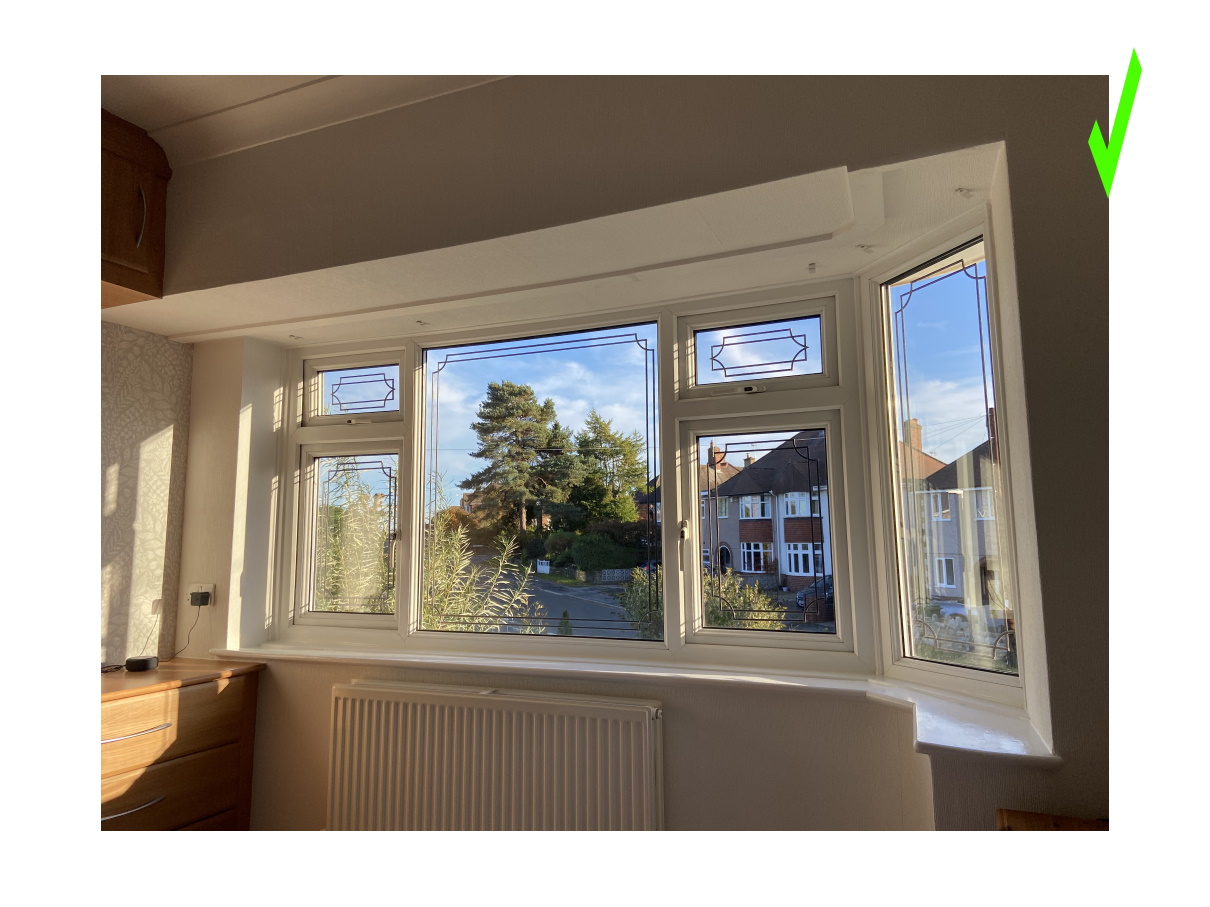
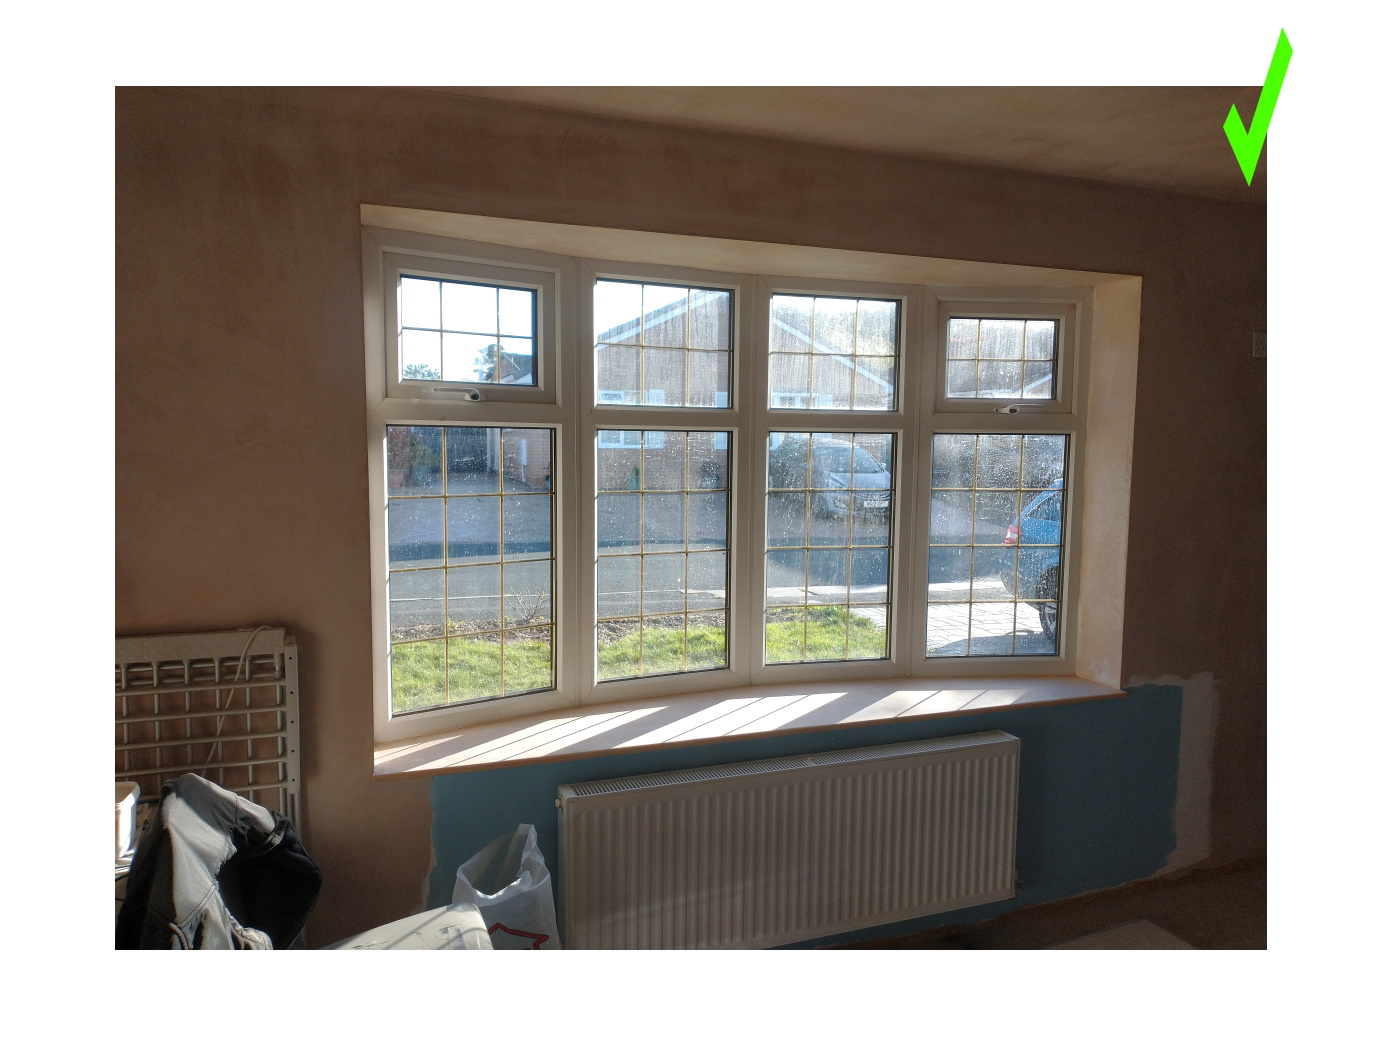
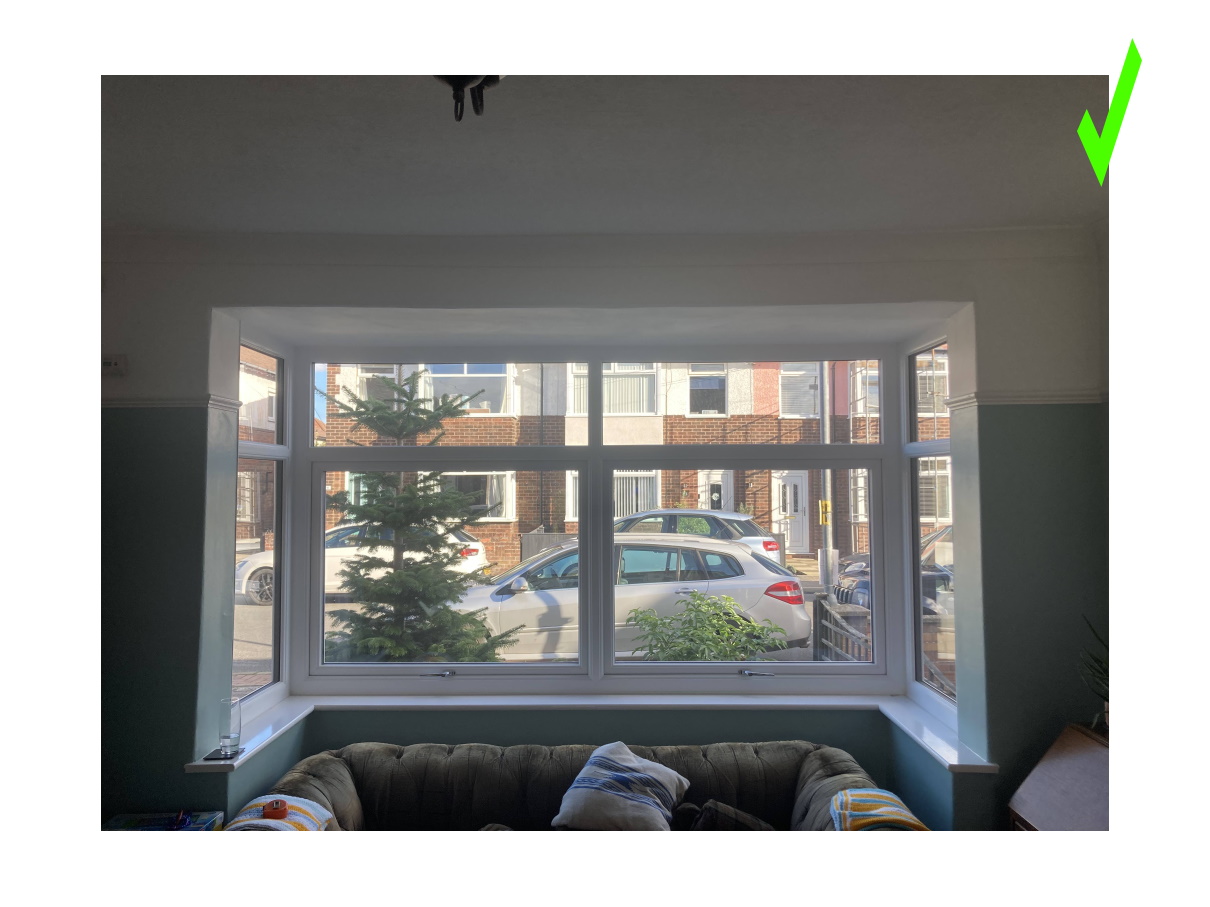
This photo is good it shows the whole window including the window sill. Ideally we could have done with seeing a little more of the walls on each side.
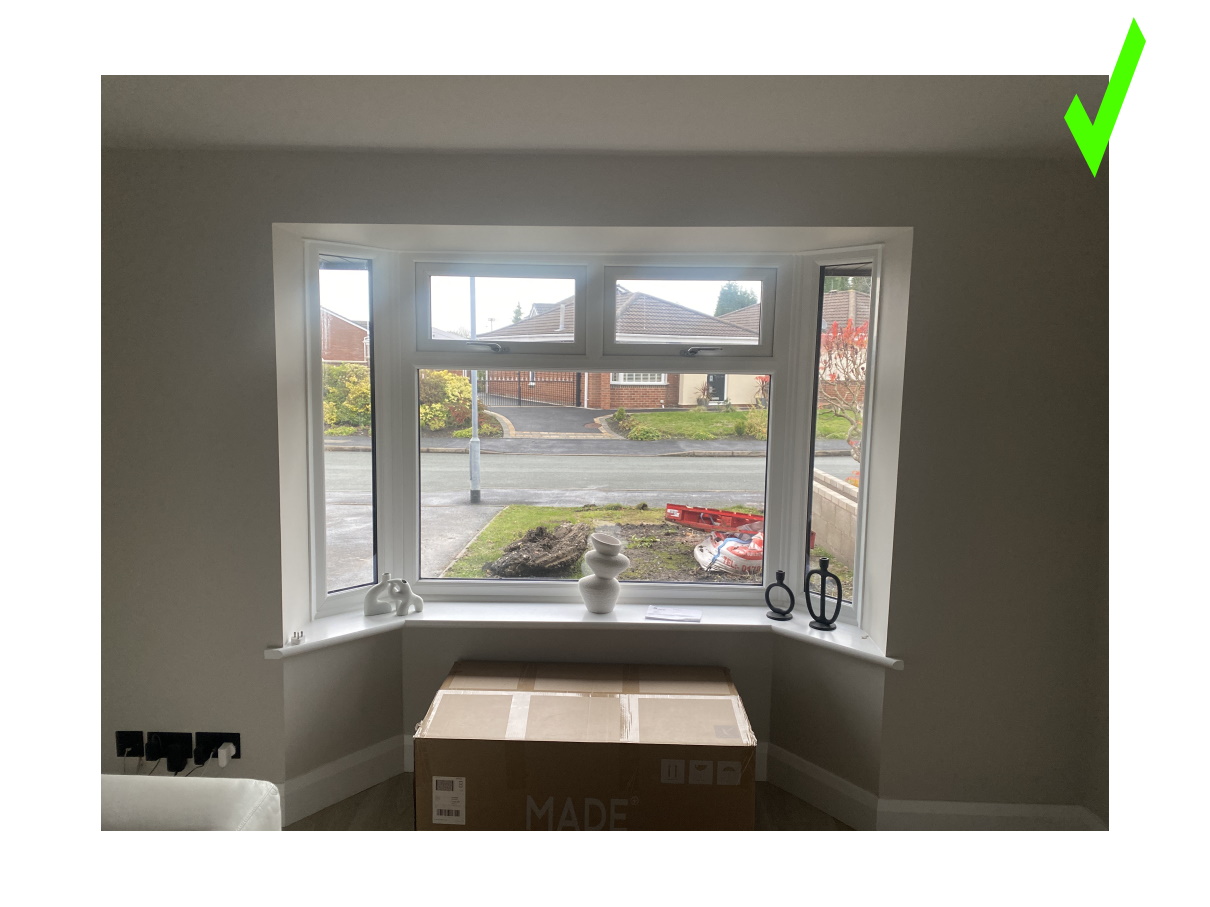
This is the perfect photo of a splay bay window. We can see from the ceiling down to the skirting boards. Also lots of the wall space on each side.
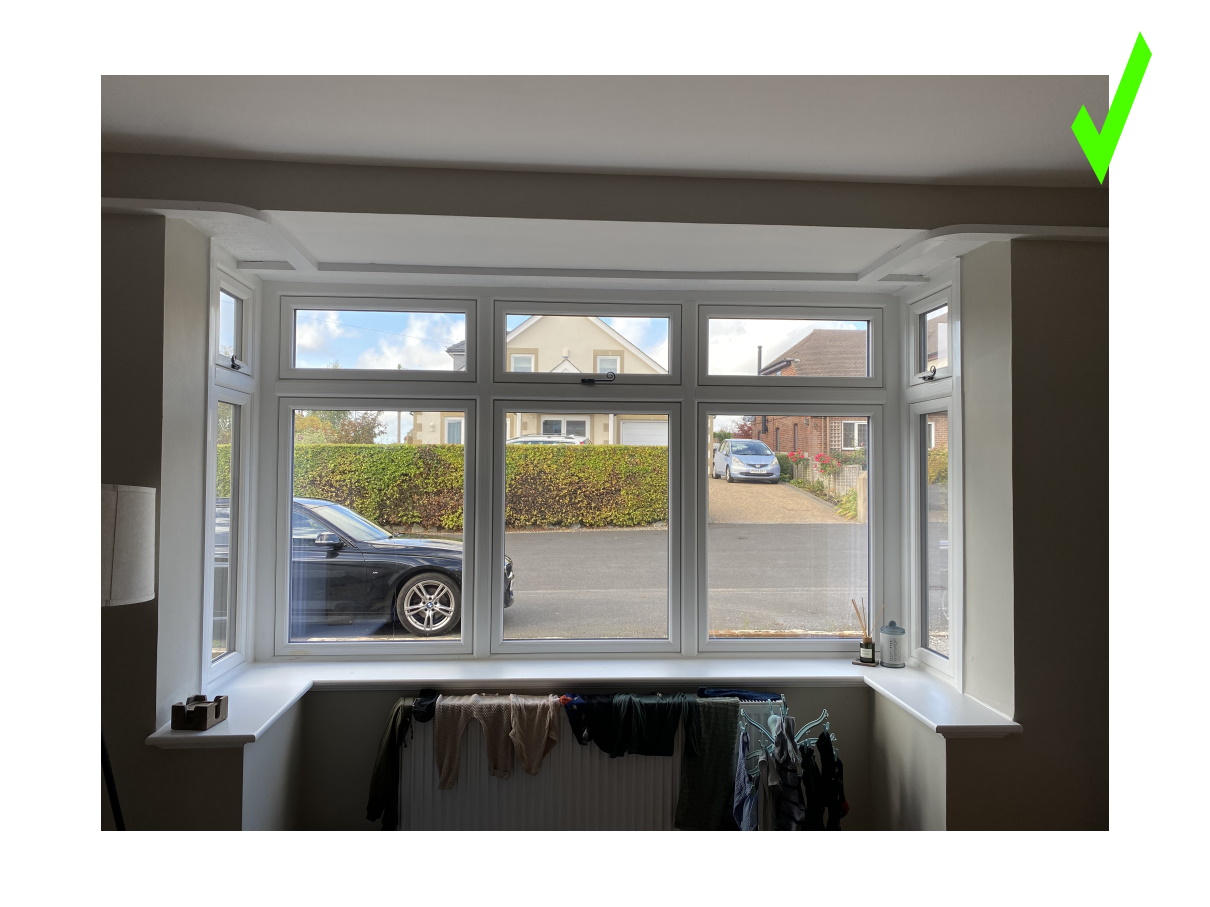
This is perfect photo of a square bay window with a deep window sill. Seeing the window sills on square bays is critcal. Some have very wide sills others have almost none.
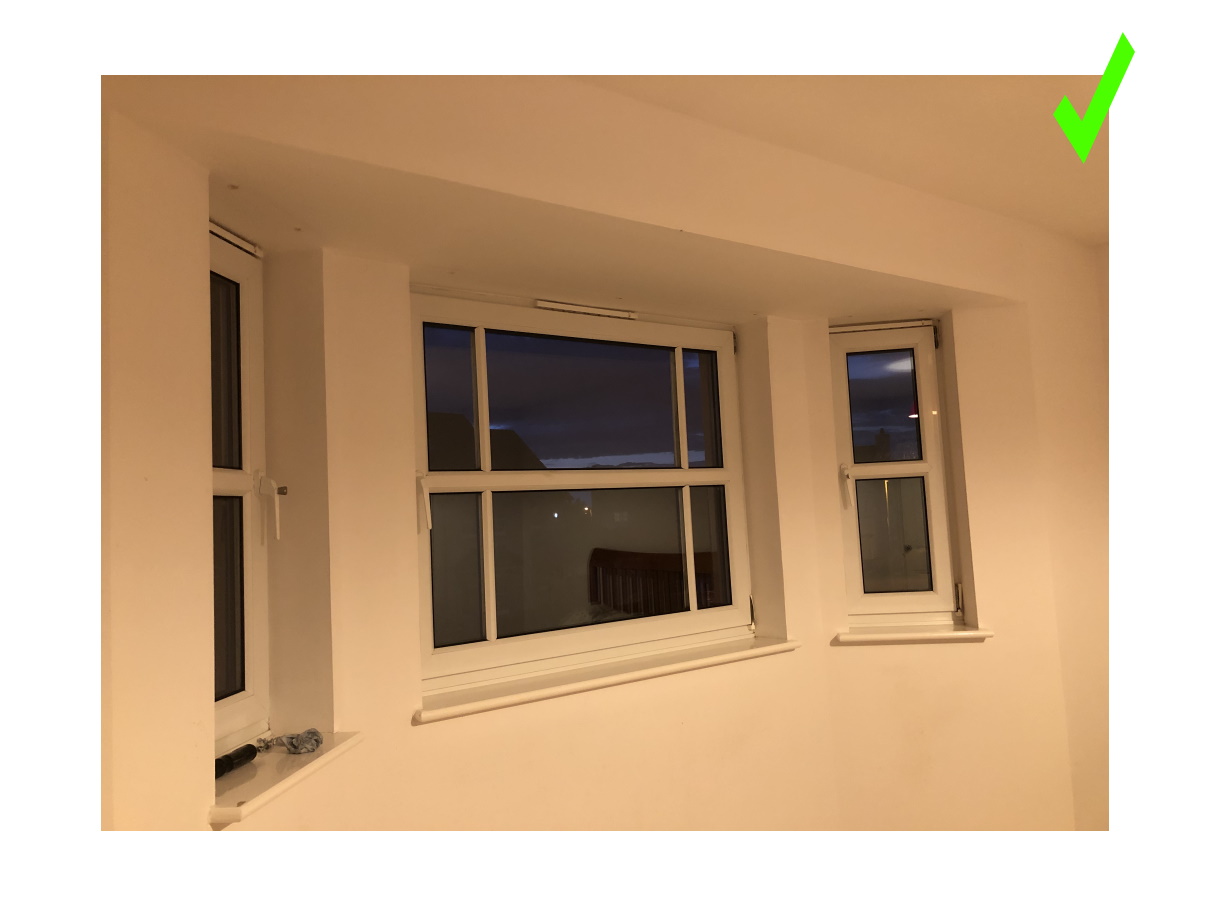
A good example of a 3 window splay bay. We can see everything we need. I can see the 3 sills stick out a little. So can ask by how much to make sure the curtains hang in front.
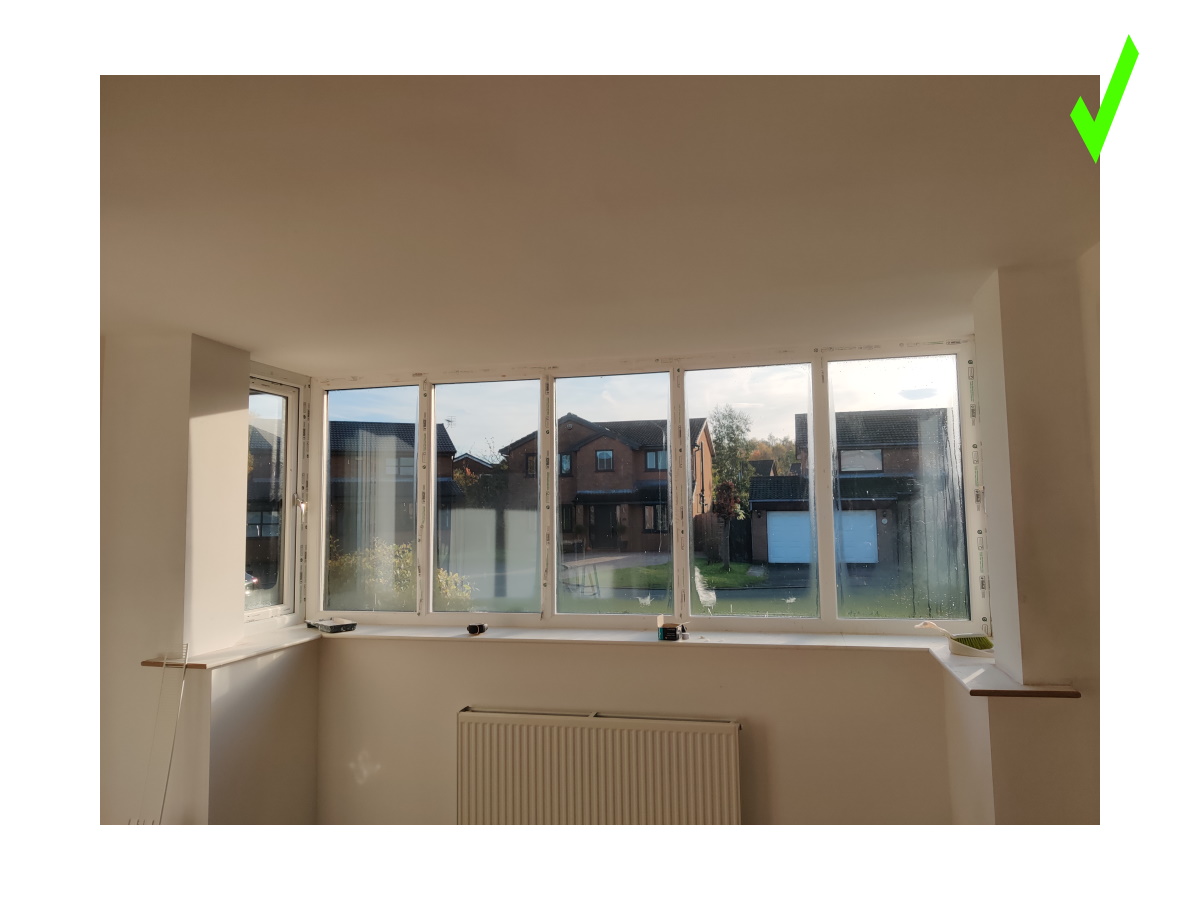
Here we have another great photo of a square bay. The reason I'm showing this one is because I can see the ceiling in the bay is at the same height as the ceiling in the room. So I know the track will be all ceiling fixed.
A good example of a right hand splay bay with extra bend. I can see from this that there is an existing wooden batten on the ceiling. So we will need to make the track to fit neatly to this.
This is a good example of a bow window as it shows it is not a true bay. As it has a deep window ledge. This means I know the curtains are going to be sill length and will probably not return out of the bay (bow).
Here we have a good example of a square bay but this time with a shallow window sill. So this means if the track is to return out of the bay on each side. Then I need to make sure the track curve doesn't catch the corner of the bay on the way round.
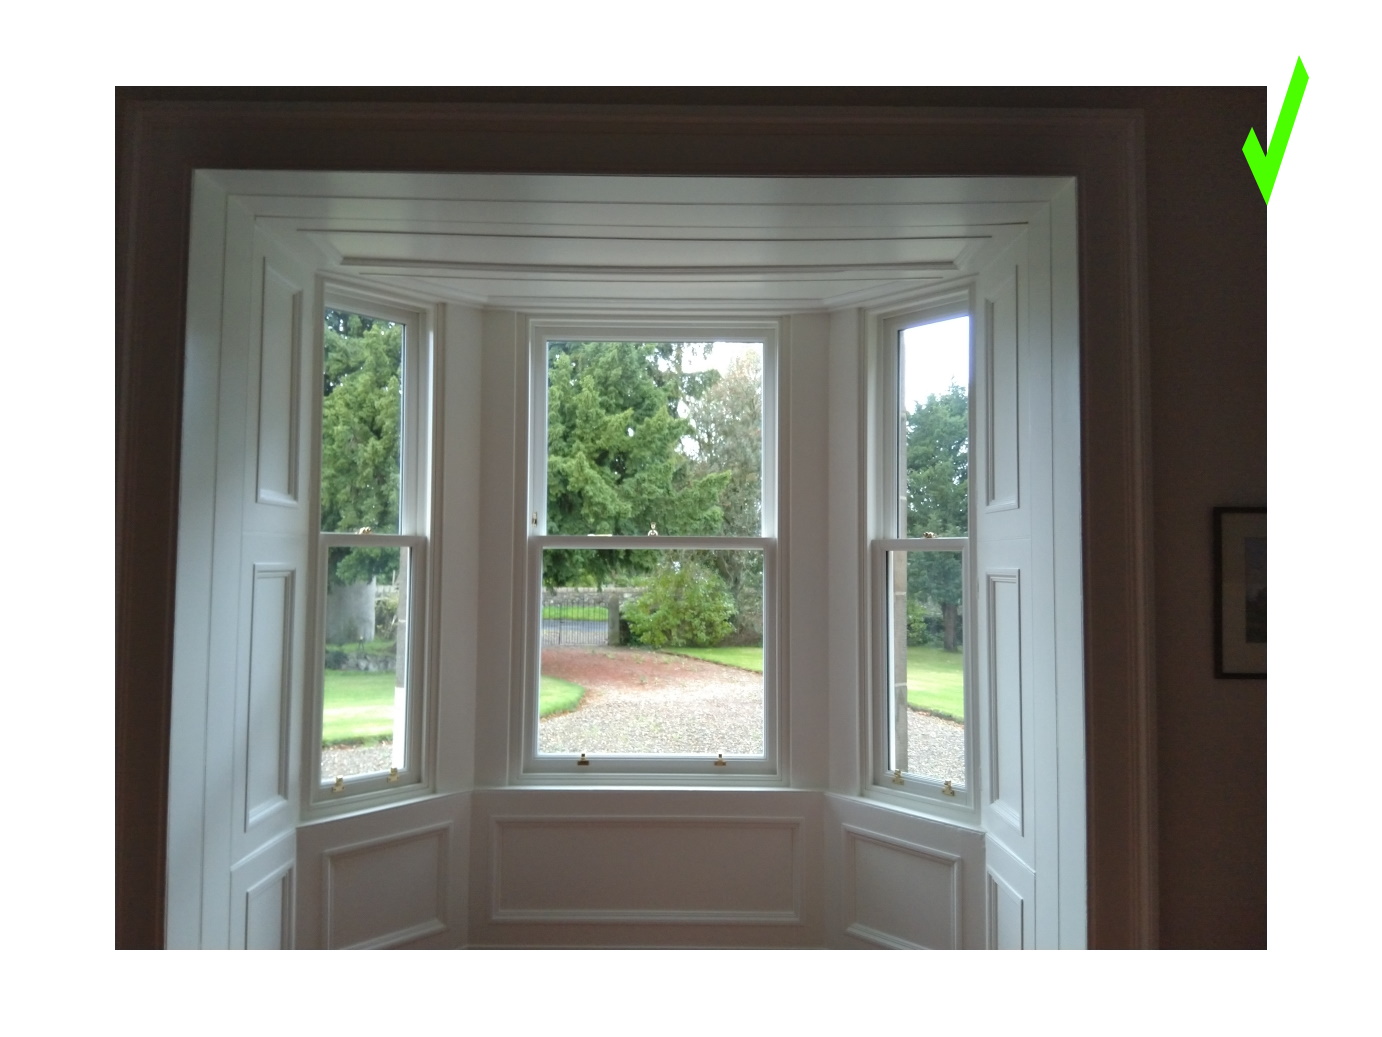
This is great example of a 5 sided bay window with a wood panelled ceiling. This shows me there is just enough room for a ceiling (top) fixed curtain track. We can make it to fit all on the flat area around the edges of the bay.
The Bad Guys
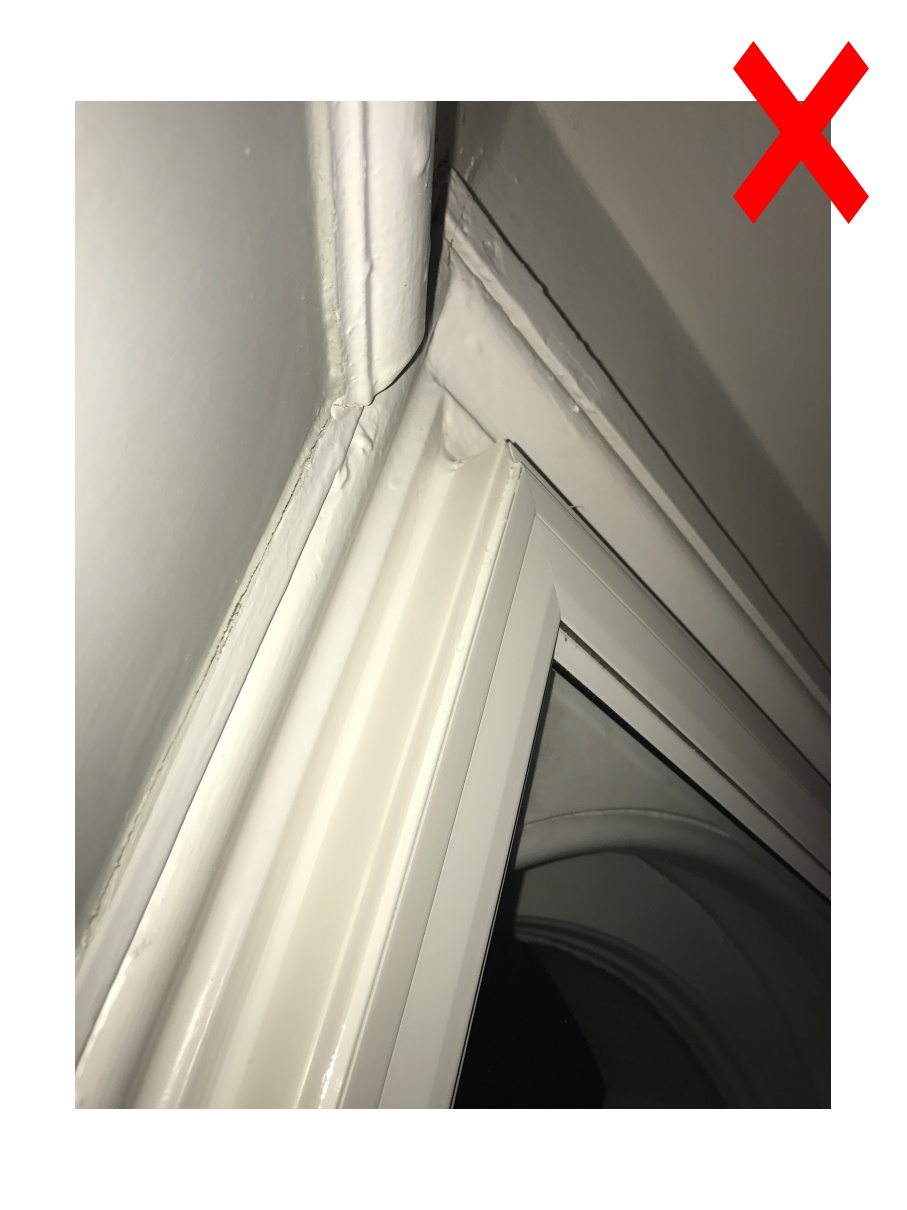
The big problem with this photo is that it is far to close to the window. Even as an additional photo this is just too close to be really helpful.
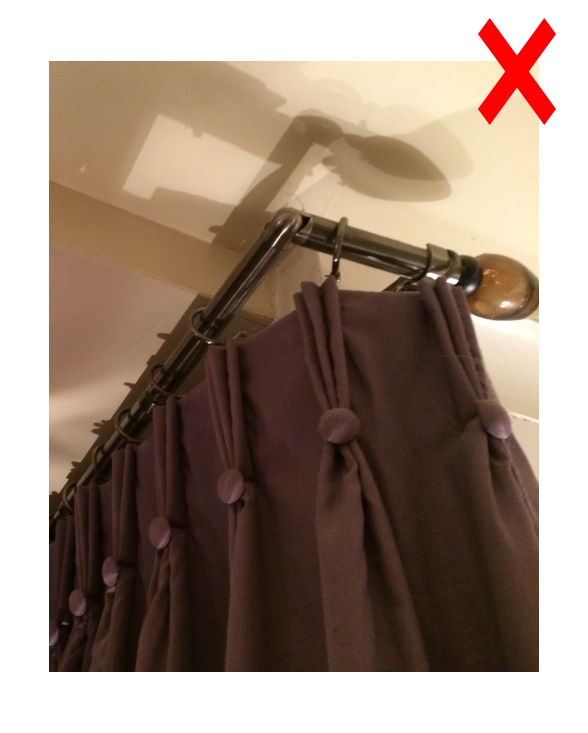
This photo reinforces that bay poles are a terrible idea. Other than that this photo is telling me nothing about the bay. So don't get hung up on existing problem hardware. Just focus on showing me the full bay.
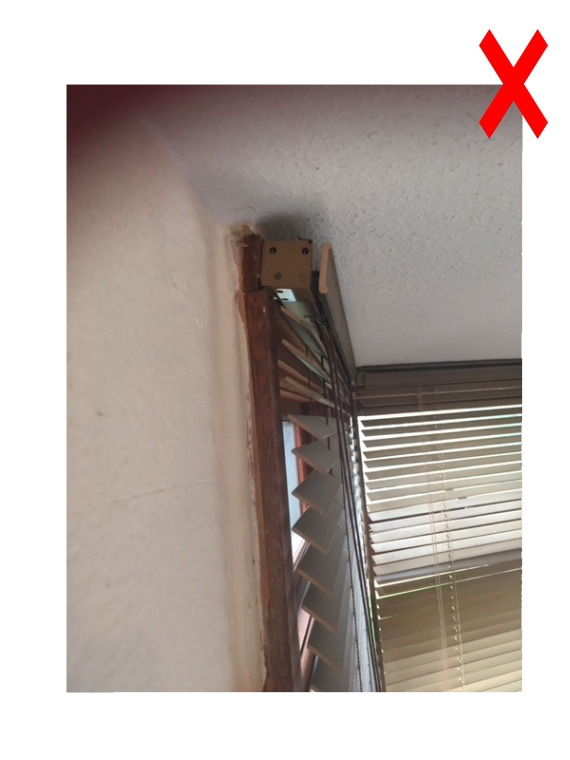
I think this photo was sent to show me they were keeping the existing blinds in the bay. Also, that the new track was to work around these blinds. The problem again is far to close.
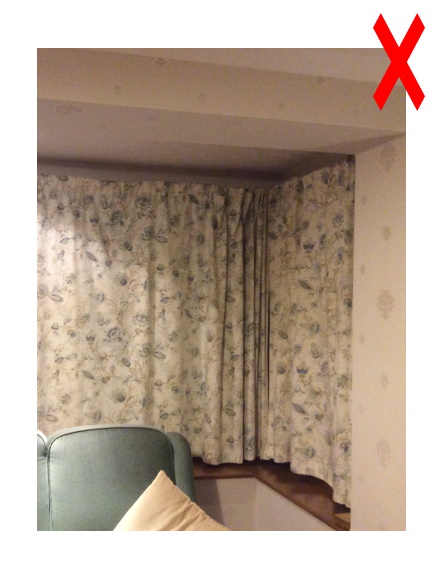
This photo would have not been too bad if it were not for the curtains covering the entire window. We need to see how the window frames meet either the wall or ceiling in the bay over the windows. So take photos with no curtains, or move to the curtains to the side.
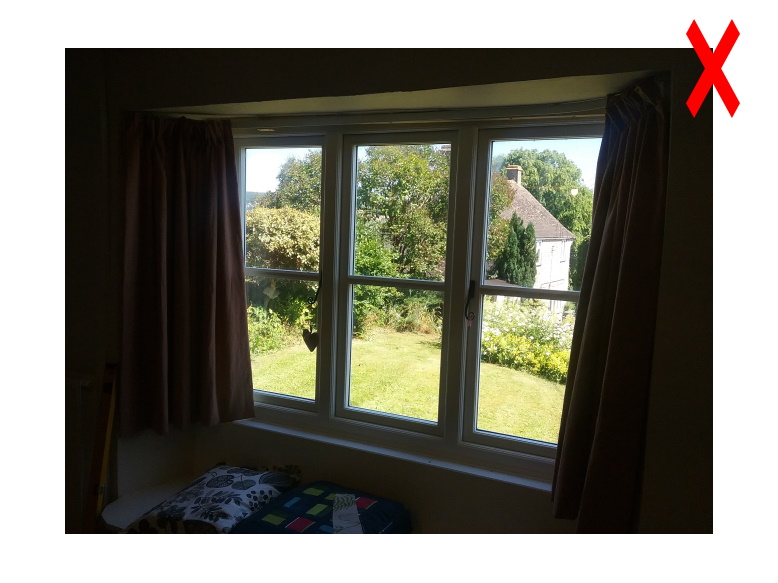
I suspect this photo was taken on a very suny day. The exposure means I can hardly see anything. In this situation it is best to wait until after dark, then take the photo.
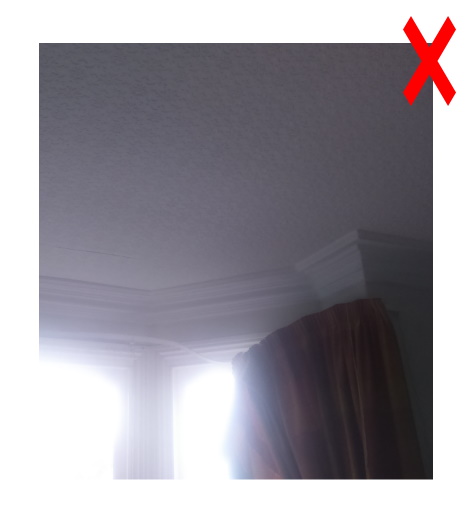
This photo again is overexposed due to the bright light coming in through the window. The photo does show me an old plastic curtain track falling off the wall due to the curtain weight. What is doesn't show is the full bay shape.
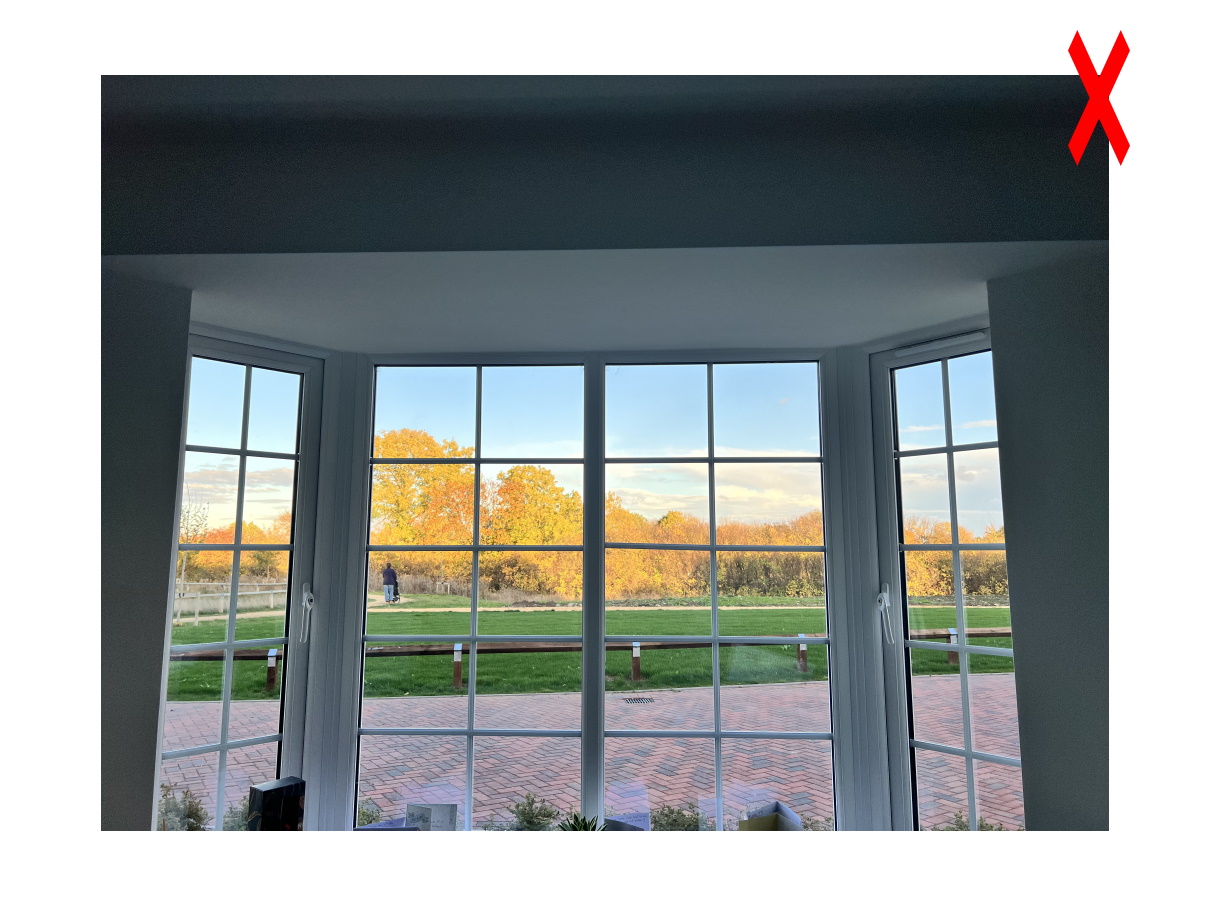
This bay photo would have been good if it wasn't for not being able to see the window sill and more of the sides. A couple of steps further back would have cured both of these issues.
So the basic steps to good photos of your windows is!
- Stand far enough back from the window to see the top bottom and sides of the window if possible.
- If the sun is really bright then wait until the sun sets before taking your photos. Dusk is good.
- Windows without existing curtains hanging are best. Failing that move them to one side and take a photo.Then move to the other side and take another photo.
If we need anymore detail we will get in touch and let you know what we need to see. So I hope this page was useful and I hope you didn't find it patronising. That certainly was not my intention 😢
The only reason I put this article together was to help you to help me. This then means we can keep to schedule when completing your order 😊
- Home
- Bay window curtain tracks
- Photos of Your Windows
